5 Reasons Why You Should Build the UI in ConstraintLayout

ConstraintLayout is a popular solution that Android developers use every day. And not without a good reason. If you’re at the beginning of your journey as a software engineer, get familiar with the most important features this layout can offer. It will help you understand the way it works, and Android app development will become easier.
You can find the basic info on ConstraintLayout in my previous article. Even though it’s been a while since I wrote it, information about the elementary issues is still up-to-date. Here, I present to you several important assets of ConstraintLayout.
How to use ConstraintLayout in Android?
Before we begin to discover what ConstraintLayout has to offer, remember that if you want to use it, you need to add a dependency to build.gradle in your project:
'implementation ‘androidx.constraintlayout:constraintlayout:2.0.4'Done! Now you can use this layout along with all its valuable components.
Let’s move on to the features that you should draw special attention to. Below, I also explain the other factors that determine why ConstraintLayout is better than the rest available options.
The structure that increases performance
The main benefit of ConstraintLayout is its flat structure. What does this mean? No nested layouts. Before its release, you had to nest a layout into another one if you wanted to build a complex UI with lots of elements. This solution has a few important shortcomings, though.
Above all, the view weighs more, and this decreases the performance of an app. Secondly, with nesting, you don’t have access to all the elements from anywhere you want. As a result, it’s not always possible to build every dependency. ConstraintLayout makes these problems disappear.
Functional graphic editor in Android Studio
Moreover, Android Studio offers developers a good graphic editor, well-integrated with ConstaraintLayout. You can easily set up UI components’ dependencies in it. In one of my previous articles (about the unstable Android Studio 2.2 Preview version), I pointed out that not everything was working as it should be. Luckily, after a while both the editor and layout were improved, so you can use the new components efficiently.
Groups – easy views management
With groups, you can create links between the elements inside the XML documents. A group doesn’t have any particular location: it’s a binder for several elements of the view. Each group has its own ID. This comes in handy; for example, when you want to hide selected views, depending on the status of the app.
Before ConstraintLayout, if you wanted to hide a group of views away you had to wrap it up in an extra layout. Now, you only need to create a group component inside the view:
<androidx.constraintlayout.widget.Group
   android:id="@+id/emptyPickupPointsPlaceholderGroup"
   android:layout_width="wrap_content"
   android:layout_height="wrap_content"
   android:visibility="gone"
   app:constraint_referenced_ids="emptyPickupPointsResultPlaceholderTv, changeRadiusBtn" />
This way, you can manage several groups of views at the same time, directly from the code. You refer to the ID of a group as to one view:
emptyPickupPointsPlaceholderGroup.visibility = View.GONEChain in ConstraintLayout – edition made simple
ChainStyle is a very useful attribute that helps to arrange the views. Software engineers often want to manage the layout that consists of several components placed in line. With chainStyle they can set up a horizontal or vertical dependency.
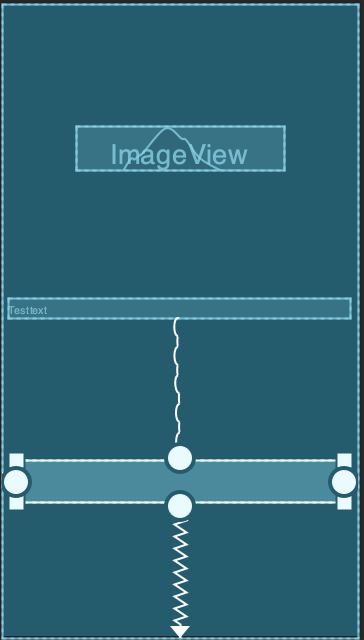
For example, thanks to this attribute you can present `app:layout_constraintVertical_chainStyle` in the following modes:
1. Packed: Elements will be grouped next to each other.
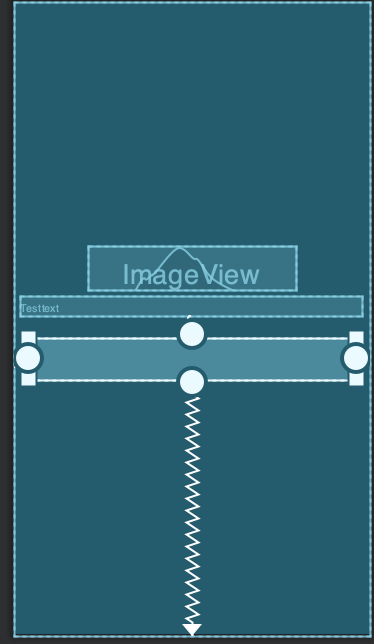
2. Spread: Elements will be scattered in equal distances according to the boundaries of the view.
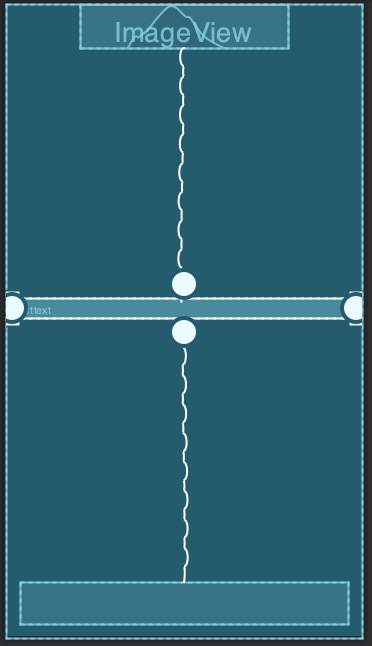
3. Spread_inside: Elements will be maximally scattered.
Bias for setting up a position of the views
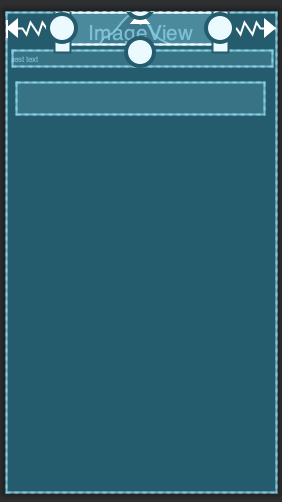
ChainStyle attribute plays a key role in view management. But sometimes it takes more than that. In combination with this solution, you can adjust the position of the views in line. You just need a setting attribute: bias. It can be described as horizontal or vertical; for example `app:layout_constraintVertical_bias`.
In this case, you determine the values from 0.0 to 1.0. Remember that 0.0 places the view at the beginning of the workspace, and 1.0. defines where it ends.
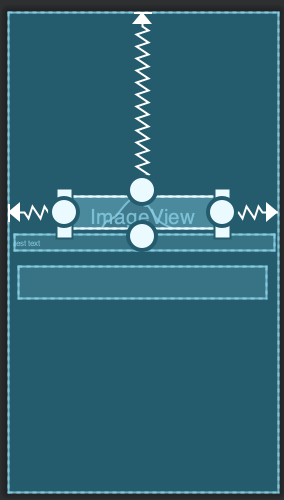
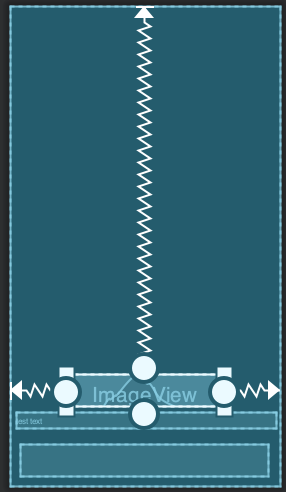
The features described above are the most useful ones, in my opinion. I use them every day because they significantly facilitate UI development.
Is there any other reason why you should use ConstraintLayout?
For example, because there are such options as Autoconnect. They rely on the algorithm of the environment and adjust basic constraints. You need to remember though, that using them does not always give the expected results. So, keep in mind that sometimes manual changes are a must.
New improvements and fixed issues
ConstraintLayout is still developed. In each version, you can find new improvements, and reported issues disappear.
For example, the following changes were recently released:
- settings for
android:layout_widthandandroid:layout_heightparameters can be omitted (they are optional), and`wrap_content`became a default value, - support for negative values of the margins,
- expansion of baseline alignment options (top/bottom).
These are just one of the key changes but in total, there are much more. A big part of the improvements concerns MotionLayout – a tool that can be very helpful with the animations. But it’s such a broad topic, I could write a whole new article about it.
Implementation of ConstraintLayout has optimized the work of software engineers. Not only it puts less strain on the system but also offers many possibilities. Since this layout was released, it has been modified many times. Now, we can say that it is 100% reliable, so no one should be surprised that it is a default solution in Android Studio.


